You can make a durable memory magnet at home by combining a protected photo print, a rigid paperboard core and adhesive magnetic sheet. The method is approachable, inexpensive for a small batch and flexible enough for squares, rectangles or simple circles.
Plan on about 45 minutes for the first magnet, plus curing time for the adhesive. Work carefully with blades and use a proper cutting mat. Children should have adult help for cutting and adhesive steps.
Choose the method before the design
There are three realistic routes. A layered craft method gives you control and needs only common tools. Printable magnetic sheet is faster, but many home printers produce less vivid color on its coated surface. A button press creates a consistent finish for repeated production, although the machine and size-specific parts are unnecessary for a one-time gift.
| Method | Ideal quantity | Main tradeoff |
|---|---|---|
| Layered photo and magnetic sheet | 1 to 20 | More hand trimming |
| Printable magnetic sheet | 1 to 10 | Thinner feel and printer limits |
| Button press | Dozens or more | Equipment cost and fixed sizes |
The tutorial below uses the layered method. It gives a photo a flatter, more substantial feel than thin printable sheet and lets you replace any one material if the first test needs improvement.
Gather the right materials
- A photo print: matte or luster paper is easier to handle than glossy paper and tends to show fewer fingerprints.
- A rigid core: medium chipboard or dense, acid-free cardstock keeps the magnet flat.
- Clear self-adhesive laminate: a thin protective film guards the ink against damp hands and light splashes.
- Adhesive magnetic sheet: choose a sheet that lies flat and provides enough pull for the finished weight.
- Cutting tools: use a metal ruler, sharp craft knife and cutting mat for straight edges. A sturdy circle punch works for round designs.
- Burnishing tool: a clean brayer, old gift card or bone folder helps remove air pockets.
Before buying supplies: test the intended display area with an ordinary magnet. Some stainless steel refrigerator doors do not attract magnets, while the side panel may.
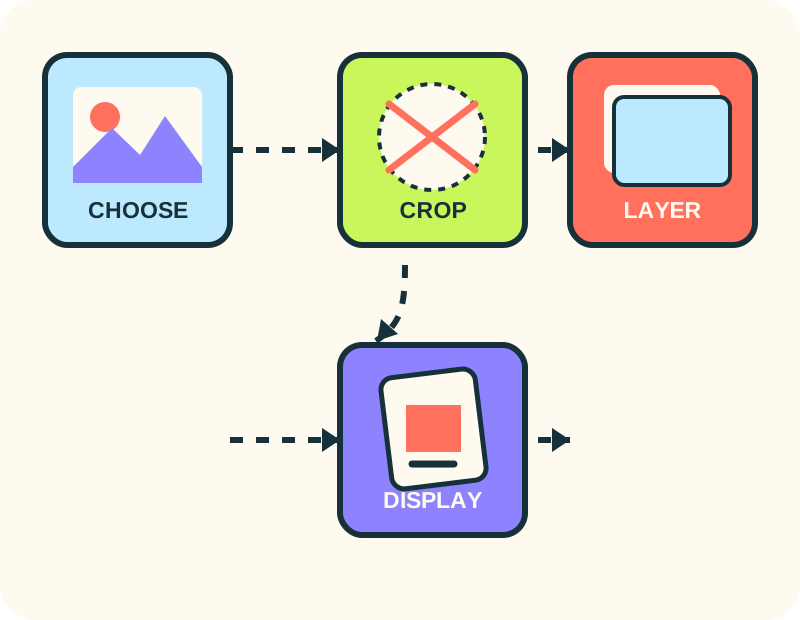
1. Choose, crop and proof the photo
Start with the original image file rather than a screenshot or a version downloaded from social media. The extra resolution helps faces and edges stay clear. Brighten a dark image gently, but avoid strong filters that flatten skin tones or hide detail.
Set your document to the finished size. Two to three inches on the longest side suits most refrigerator magnets. Add roughly one eighth of an inch of extra image around every edge as a bleed area. Keep faces, dates and other important content at least another one eighth of an inch inside the trim line.
Print a draft on ordinary paper at 100 percent scale. Cut it out and hold it at arm’s length. Is the subject obvious? Can you read the text without squinting? Does a circular crop cut off shoulders or landmarks? Adjust now, then print the final image using the best suitable setting for your chosen paper.
2. Protect and assemble the layers
Let the printed ink dry fully. Cut clear laminate slightly larger than the photo. Peel back only a narrow strip of liner, align one edge, then lower the film gradually while smoothing from the center outward. Moving slowly reduces bubbles. Trim the protected print to its intended outer edge.
Apply a thin, even layer of suitable adhesive to the chipboard, or use an adhesive sheet for cleaner coverage. Align the photo and press it firmly with a brayer or card. Avoid wet glue that can soak and warp paper. Place the mounted image under a clean book while it sets.
Cut the magnetic sheet to cover the entire back or most of it. Full coverage helps wide rectangles resist rotation and keeps corners supported. Peel the liner, align one edge and lower the magnet onto the core. Press across the back, paying special attention to corners.
For straight shapes, make the final trim with several light knife passes against a metal ruler. Do not try to force a thick stack through in one pass. Round the corners slightly if the magnet will be mailed, since sharp paperboard corners can bend.
3. Cure and test the finished magnet
Keep the piece flat under moderate, even weight for the adhesive’s recommended curing period. Then place it on the intended surface. It should stay in position when the door opens and closes. Check every edge for lifting and look across the front under side light for bubbles.
If you are making a gift set, live with the test piece for a day before assembling the rest. Kitchens introduce heat, humidity and frequent movement. A short real-world test gives more useful information than pulling on the magnet immediately after assembly.
Troubleshooting common problems
The magnet slides down
The finished stack is too heavy for the magnetic backing, or the surface has weak magnetic attraction. Replace a small strip with stronger, wider coverage. Reducing thick decorative layers also helps.
The corners curl
The paper and backing are reacting differently to moisture or tension. Use a denser core, apply adhesive across the entire surface and cure the piece flat. Do not laminate only one side of very thin paper without adding a stable core.
The photo looks dull
Confirm that the printer setting matches the paper. Printable magnetic sheets may need a different profile than photo paper. Clear film can change contrast slightly, so evaluate the complete sample before printing a batch.
There are bubbles under the film
Tiny bubbles can sometimes be pressed toward an edge. For a large crease or trapped fiber, remake the top layer. Apply film in a clean area and expose the adhesive gradually rather than dropping the whole sheet at once.
How to make a coordinated set
Choose one size and one visual rule for every magnet. That rule might be a white border, a small date in the lower corner or a shared background color. Edit all images in one session so brightness and color feel related.
Create a paper template for the cut size and label the back of each proof. Arrange the set in its intended order before final printing. For an annual collection, save the design file and record the typeface, dimensions and paper. Those notes make next year’s addition easy to match.
Package finished magnets face-to-face with clean tissue between them, then add a piece of card to stop bending. Do not place a magnetic back directly against another photo surface for long storage. Include a short note explaining the people, place or date if the recipient may not recognize every image.
Keep the first project simple
The best first memory magnet is not the one with the most effects. It is the one with a clear image, a thoughtful crop, flat layers and enough magnetic strength. Make one complete sample, learn from it and only then repeat the process. That discipline produces a better gift and wastes fewer materials.
Need an idea for the photo?
Explore specific concepts for families, weddings, pets, travel, new homes and annual traditions.
See memory magnet gift ideas